
Roger Sturdivant
After enrolling in a stained glass course at the Craftsman Guild but was not really inspired by it. I saw a few fused glass pieces in Alaska. Then we went on a cruise to Canada and New England and saw a much larger number of fused glass pieces in several shops, and the bug to find out more bit me. I purchased the first kiln in 2009 and used it to learn, what not to do and some of what to do, by trial and error. I did a few local shows and made pieces for Christmas presents, etc., The praise and questions I received that year was enough to perk my interest in finding out more and trying different processes. It was not until 2011 that I purchase the large kiln allowing me to try larger pieces.
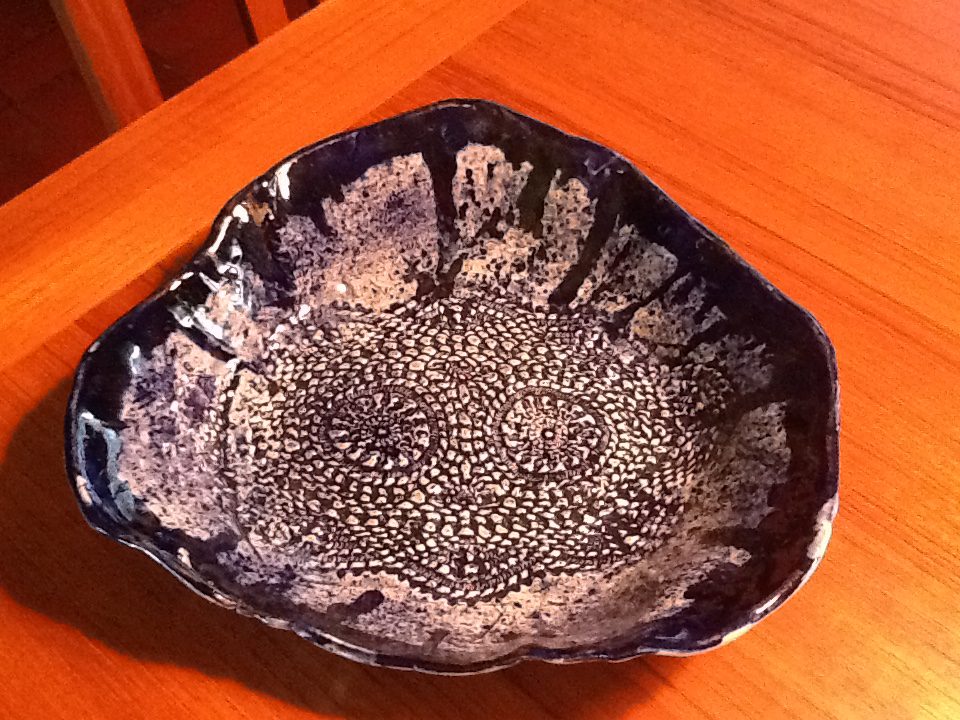
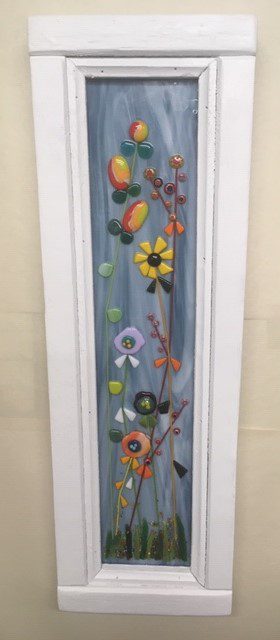
The artistic process may seem laborious to most, it is truly a labor of love for me and there are no two pieces identical. I love creating new designs and shapes, with every color in a finished piece a separate piece of glass. I hand cut all my glass and make my own frit. I only use my ring saw on very difficult angles and curves where there is danger of the glass breaking in the wrong place. I use two kilns, along with a grinder, and a propane torch to add a unique twists to thin strips of glass. The fusing step takes 12 hours in the kiln at 1450º, for the kiln to heat up and melt all the pieces together, then to slowly cool down for the annealing process. When I make small things like the night lights, flower designs, I tack fuse the glass together so that you have a three dimensional look to the piece. A pot melt is when the kiln heats the glass to 1700 º, and at that temperature the glass becomes liquefied and runs down through holds in the bottom of the pot and collects on the kiln shelf, and there is no way to control what happens, with the color or the pattern during the process. The pot melt usually has a minimum of 3 steps and sometimes 4 steps, to get a finished piece.
The finished pieces are bright, colorful, and functional, appealing to all age groups.